
Many of us Clashers fight for a spot on the top of the leaderboards and the chance of immortalizing our name, declaring ourselves a true champion/victor. However, none of this can ever come to be unless we have a viable defense capable of withstanding constant bombardment from attackers, all with the same goal of being the best. We all not only need a powerful attack strategy, but also need a strong and durable defense.
If you have defensive strategies that will help people, we recommend that you post them here instead of the You page. This is a page in which you can see good layouts which that may be able withstand against aggressive attacks. Remember the new Wall Breaker will not be affected by spikes (spiking) unless there is a structure directly behind the wall; this is the only exception in which the Wall Breaker will go for the spike instead of the main wall.
In addition, Wall Breakers have a larger blast radius, so they can penetrate through two layers of walls.
Defense Against the Updated Wall Breaker

In the update the Wall Breakers now target walls that enclose Buildings; this means they ignore and go around free-standing walls. Updated Wall Breakers don't just go to the nearest wall; instead they go to the nearest compartment. Use this to your advantage by channeling them into gaps, where your carefully laid Traps will instantly kill them. This method can also help defend against other Troops, such as mobs of Giants. In addition, the more time the Wall Breakers (and other Troops) spend moving and not attacking, the more opportunities your defenses have to kill them.
Wall Concepts

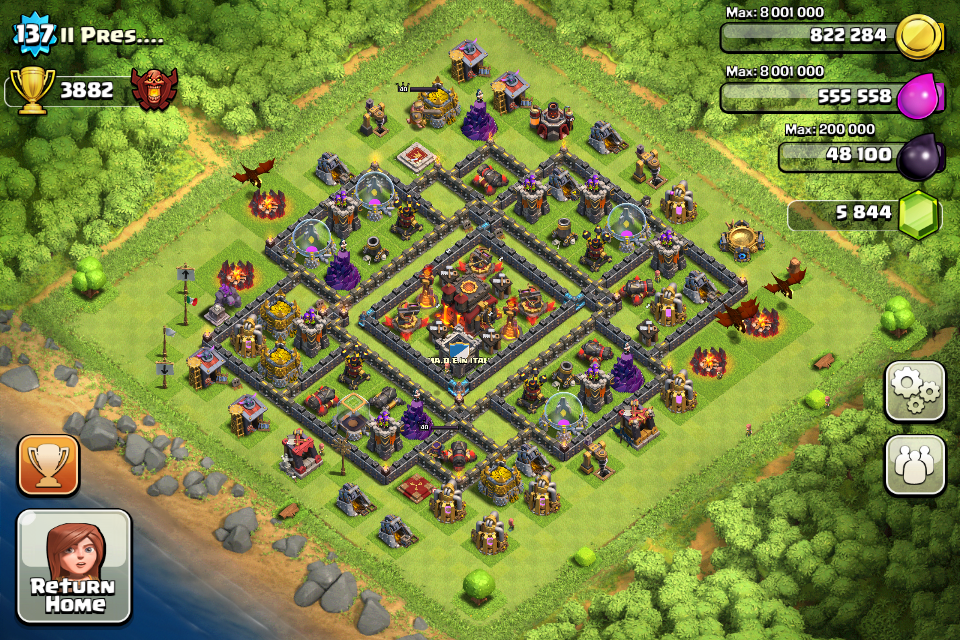
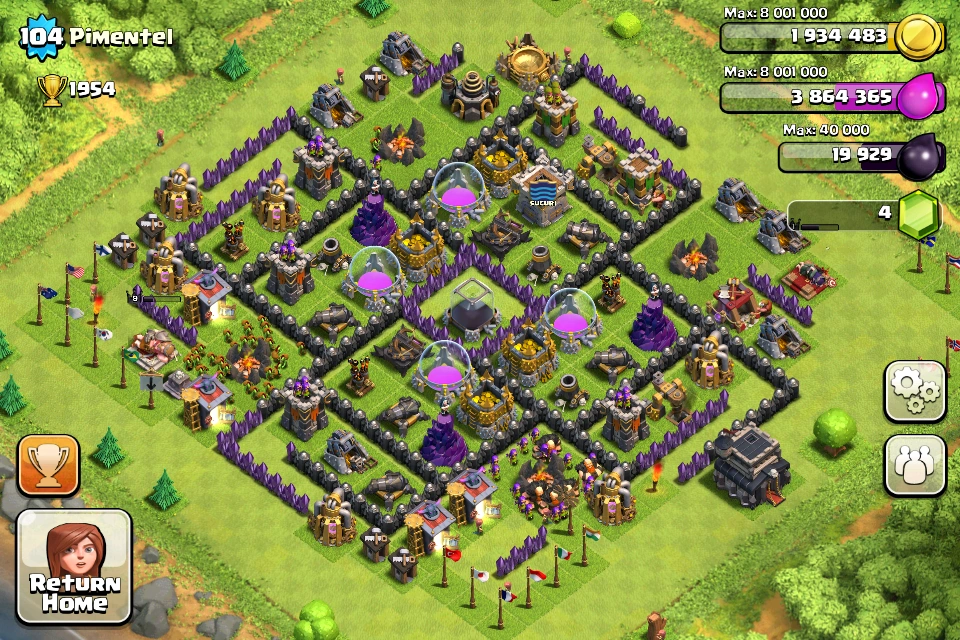
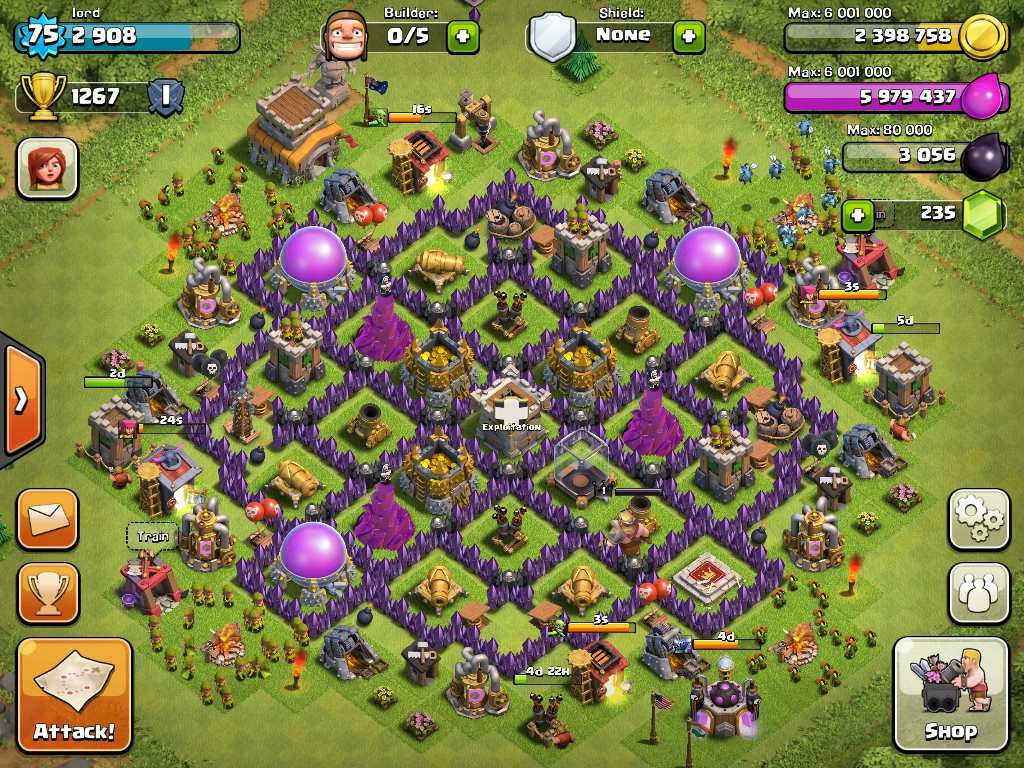
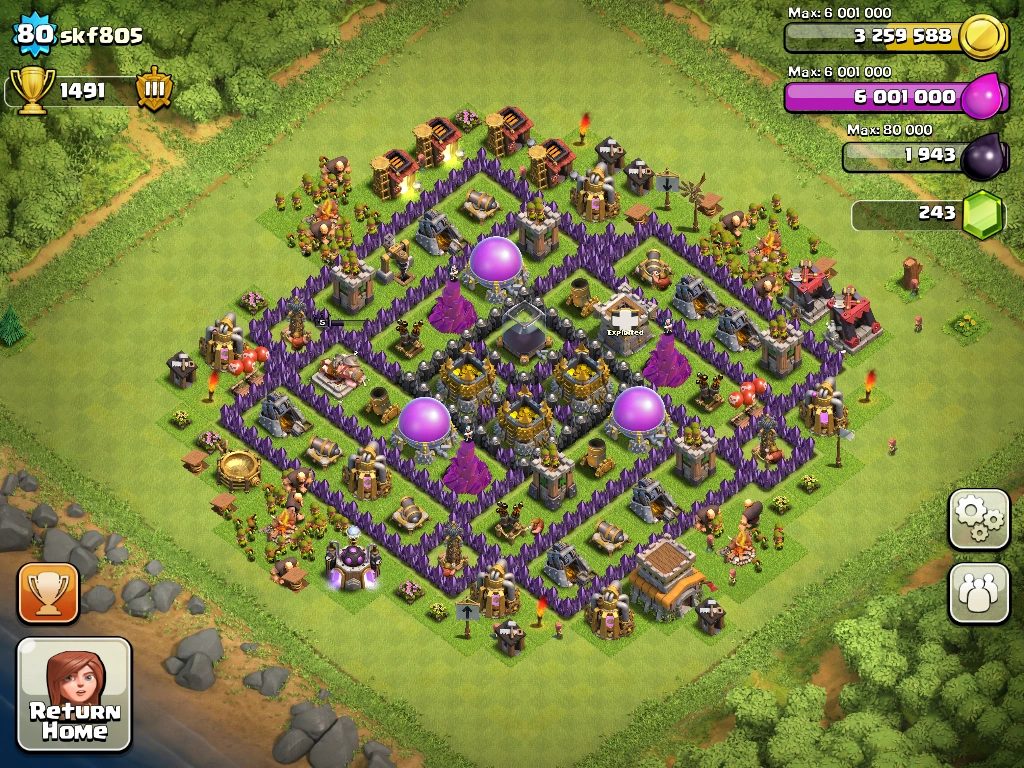
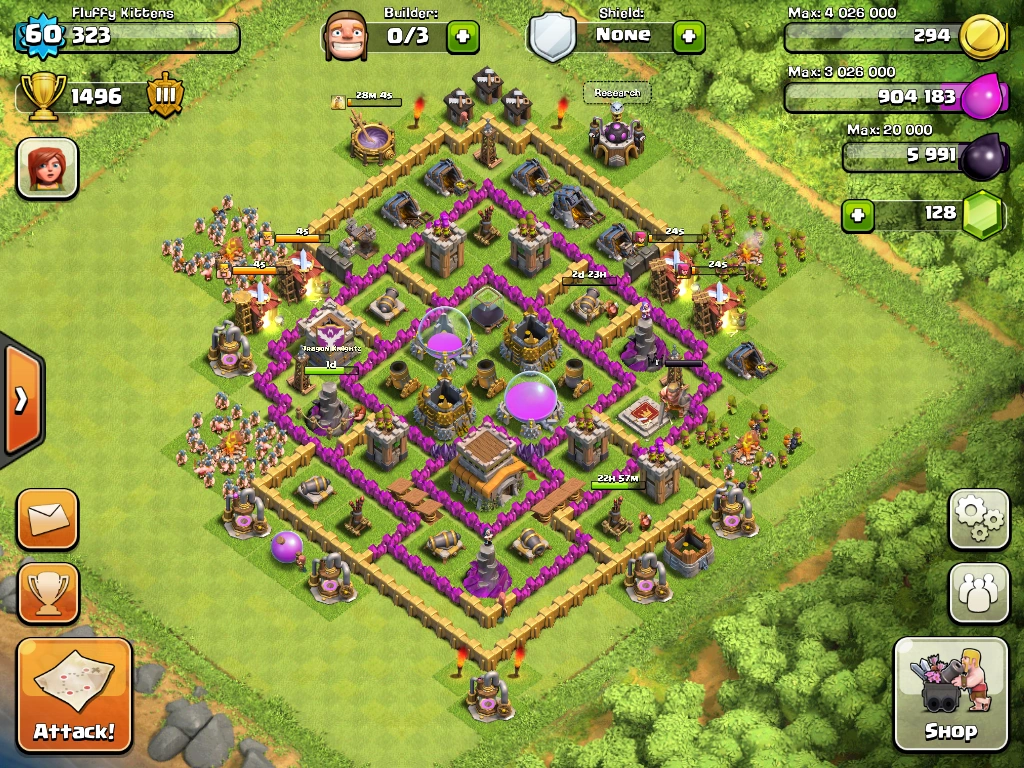
Base layouts can be divided into two basic commonly used categories: Symmetrical and asymmetrical. Most bases have some amount of symmetry, whether they are partially, bilaterally or quadrilaterally symmetrical; others are bilaterally mirrored. They can be further divided by their basic defensive concept. Here are a few:
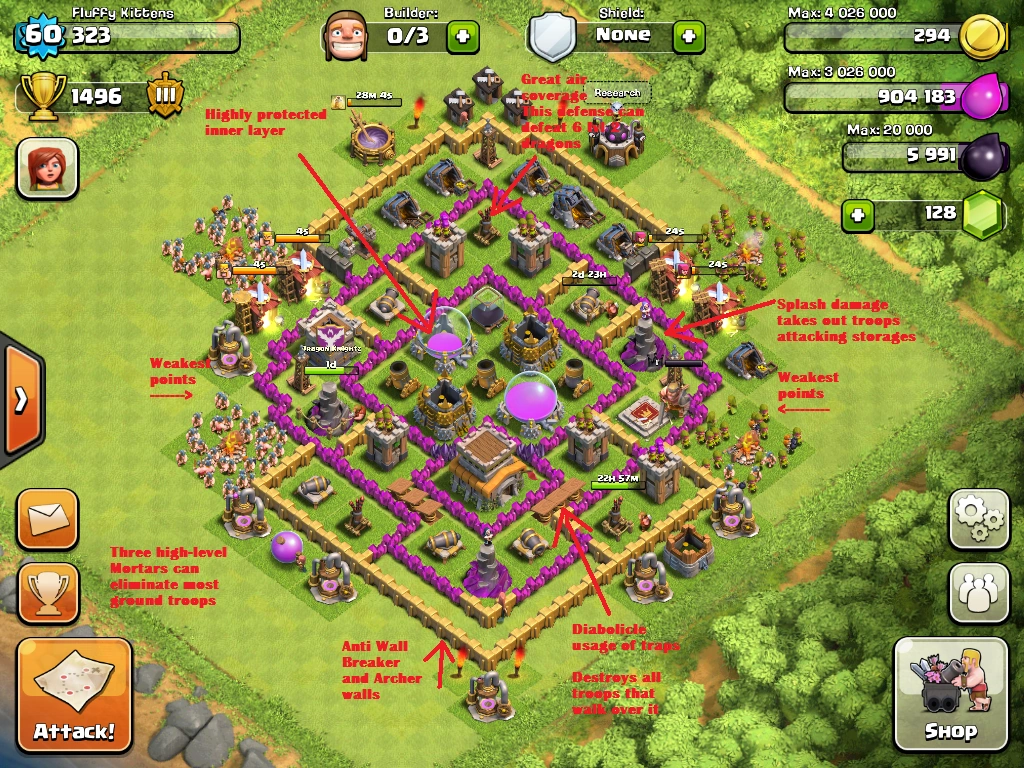
- Single Wall: A single wall surrounding all or most of the buildings. Note: Archer raids work well against single layered walls and very exposed to Wall Breakers. Overall, usually a fairly easy base to destroy.
- Double Wall: Same as a single wall except it has another layer (separated by at least a single-tile gap) on the outside of it. It prevents Archers from shooting over it and prevents Wall Breakers from penetrating both layers.

- Double- or Multi-Layered Wall: A portion or all of a wall segment with multiple layers. Note: Wall Breakers have splash damage that can break up to triple wall layers as if they were a single layer, so it is recommended not to use them, at least not as part of the outer layer or two where Wall Breakers can typically target them.
- Inner and Outer Wall: As the name implies, an inner wall protecting the most valuable structures, with an outer wall fully or partially enclosing the inner wall and its associated defenses. It is essential to have your Town Hall at the middle of this type of base rather than outside of your base (this differs from people who are "farmers").
- The Egg-Shell Defense: Multi-layered walls (usually 3 or more layers thick) in the center of the map with most buildings outside the wall and resources (possibly Town Hall) inside the wall. This concept is generally used for farming villages.
- Compartmentalizing, Enclosing or Section Defense: This manifests in different ways. The basic concept is to have various compartments of one or more buildings. It helps a lot to have multiple compartments inside your base as each must be breached separately, greatly slowing down attackers and making it difficult for Wall Breakers to reach the inner compartments in order to blow up the walls. One type of wall design isn't very smart to do. It is two walls together without a space in between. It may stop archers but a wallbreaker's splash damage will destroy both of the walls.
It is a good idea to have your outer walls upgraded to at least level 7 to slow down your invading enemies. The reason for this is because that is the point at which a single Wall Breaker cannot destroy it, regardless of the Wall Breaker's level.
What to Put Inside Your Walls and Why
- Splash Damage Defenses. Why? Because this way, when you are being raided, the attacker's troops will constantly be hammered by your Mortars and Wizard Towers. Splash damage defenses have an advantage over than other defenses, such as Cannons, because those can only target one troop at a time, where as Mortars and Wizard Towers can deal damage to multiple troops in a certain area.
- Air Defenses. Why? If your Air Defense is unprotected, it allows attackers to easily destroy it with a just a few Giants, and then your primary aerial defenses are gone. This allows the attacker to put down hordes of Balloons, Dragons, Minions and/or Healers without worrying too much about them being destroyed because the Air Defense is really the only defense that works extremely well against air units.
- Gold, Elixir and Dark Elixir Storages. Why? This is fairly arguable. If you are really trophy pushing, then feel free to put your storages out in the open to gain some quick trophies from a farmer who wants your loot. Also, it can gain you some trophies if you don't really need that specific resource as much. (ex: Elixir) But because these storages hold all (or almost all) of your resources, you'll probably want to keep them well protected. Without your resources, you can't train troops, upgrade buildings or do just about anything else in the game.
- Town Hall. Why? This one is arguable whether or not to keep it protected. Basically, always keep your Town Hall inside your walls and protected unless you are a farmer (see next section).
- Other Defenses. Why? If you don't keep at least a few of your other defenses inside your walls, you will be defeated relatively easily. It is understandable that one may not have as many walls as are required to do so, but it is best to keep your highest level defenses within walls whenever possible.
- Dark Elixir Drills. Why? Because they store your Dark Elixir when you are not online and it would be sad if it were to be lost (75% of Dark Elixir can be stolen from it)
What NOT to Put Inside Your Walls and Why
- Army Camps, Barracks, Spell Factory and Laboratory. Why? Because these buildings have no real purpose when you're being raided (other than a percentage to gain Trophies/3 stars) to keep them within your valuable wall space.
- Gold Mines, Elixir Collectors (and potentially Dark Elixir Drills, though see previous section). Why? If you normally play every day, there shouldn't be all that many resources in your collectors. Therefore there's not really a need to keep them inside your walls, even if you don't play very often. If you are a hardcore farmer you may want to consider keeping these within your walls, but it is strongly advised to use your walls for more important buildings such as Cannons or other defenses. Perhaps the only time you should consider keeping collectors inside your walls is if you are using a boost on them.
- Builder's Huts. Why? Builder's Huts are basically just a hut your Builder sleeps in when he's not working on something. It has no defensive capability whatsoever, so there's no reason to put it inside your walls. One exception would be to place one temporarily inside your walls to take space of at least 3x3 that you're saving for another building. Another exception is to protect these buildings making a 1 star 50% win more difficult for your opponents.
- Decorations. Why? Because they just waste space you could have used for something important, and could actually create a back door for enemies to place troops behind your defenses if the area they are in is at least 3x3 (see paragraph below).
- Town Hall (FARMERS ONLY). Why? Because you can get a free 12-hour shield and (usually) lose only 4-11 trophies.
Other Wall Info
Obstacles (trees, bushes, stones, etc.) cannot be used as walls or barriers! Troops can be placed directly on top of them, in front of them, or behind them! The same goes for Decorations (flags, torches, etc.) and Traps (Bombs, Spring Traps, etc.) and even Hidden Teslas. None of these (with the exception of Hidden Teslas, which are hidden buildings) actually have hit points like your buildings do either. Neither do they count as building space when you're under attack (even the Hidden Teslas, until they are revealed). For example, if you have a large area of at least 3x3 with only decorations or traps within that area, enemy troops can be placed directly into the area where those Decorations, Traps or Obstacles are during an attack on your village.
Advice
- Wall Breakers now have a bigger splash damage, so it is not recommended to use Double Walls anymore, since they will break both lines of Walls with one blast.
- If you find some buildings not necessary to protect, leave them outside as 'buffers'. Most enemy troops will target those buildings while your defenses attack them.
- It is a bad idea to put your storages together. If the enemy gets to that compartment, it's all over. Put them together at your own risk. For the same reason, do not bunch Gold Mines or Elixir Collectors together. Wizard Towers can work very well placed next to storages as they can easily dispose large groups of Goblins within a few seconds.
- It is advisable to protect collectors when at work or sleep and keep them out when you play frequently.
- Upgrade wall intersections (where walls meet perpendicular to each other) first. Why? Because it connects two compartments of the base. So when the attacker breaks that wall, they can have a chance of destroying two buildings in those two compartments without the need to break another wall in order to reach that compartment.
- Mortars do best in the center of your base. However, do not put Mortars directly next to each other, as two well-placed Lightning Spells will destroy them both. They also cannot shoot at close range, so it is NOT recommended to place them on the edges of your village (they can be destroyed before they have a chance to shoot).
- At higher levels, Air Defenses also do best in the center of your base, but at lower levels (where there is not as much room, and fewer attackers will be using air troops) they are not as important as Mortars. It still helps to have them inside the Walls, however, so try to place them in one of the inner compartments if possible.
- Cover as many buildings as possible with a defense. This includes other defensive buildings as well.
- Space out defenses so they are neither too close nor too spread out. Defenses are too close together cannot adequately protect the entirety of your village (there will be large areas that are completely defenseless). Defenses that are too spread out cannot adequately protect each other and will be easily overwhelmed.
- Town Hall placement:
- If Trophies are not a concern, put the Town Hall in corner of the map unprotected by walls. Though it is not a guarantee, this strategy enables enemies to attack you and beat you easily. The idea is to get a twelve-hour shield while only losing a few Trophies, and to keep the attacking force away from your resources or weaken them. This will also attract lower level players who only want Trophies; these players will be unable to penetrate your defenses and your resources should be relatively safe (though they will take more Trophies).
However, if you like to give opponents a challenge to get to your Town Hall, put it close to some of your outer walls. This will likely put it in range of several of your defenses. You may also consider placing several Traps and/or Hidden Teslas around it for a nasty surprise. - If you are interested in Trophies, however, it is a different matter. You will (usually) only lose the battle if your Town Hall has been destroyed. A quick way to gain Trophies through village defense is to place all of your collectors (gold and elixir) and storages around the edges of the map, outside of your defenses, and position your Town Hall in the center in a heavily guarded area. This allows for extra defenses on your Town Hall, thus improving your chance of gaining Trophies.
- If Trophies are not a concern, put the Town Hall in corner of the map unprotected by walls. Though it is not a guarantee, this strategy enables enemies to attack you and beat you easily. The idea is to get a twelve-hour shield while only losing a few Trophies, and to keep the attacking force away from your resources or weaken them. This will also attract lower level players who only want Trophies; these players will be unable to penetrate your defenses and your resources should be relatively safe (though they will take more Trophies).
- Make use of the space inside the walls, but don't have a huge square with all of the stuff inside because as soon as your enemy breaks the outer wall he has unfettered access to everything inside.
- Empty your Gold Mines and Elixir Collectors regularly, as attackers can take 50% of what is in your Gold Mines/Elixir Collectors and 75% for Dark Elixir. Not only will this mean that less loot will be stolen, it may cause the attacker to skip your village entirely.
- Place Wizard Towers within a range of each other, making it easier to kill large groups more quickly as both towers will target them.
- If you are trying to keep your resources, put Wizard Towers near your storages because they are very effective at killing Goblins.
- Putting Wizard Towers next to or near Mortars is a bad idea because 2 carefully aimed level 3+ lighting spells can take out both of them together.
- Use non-defensive buildings (Army Camps, Barracks, Spell Factory, Laboratory, Builder's Huts, etc.) to extend the boundaries of where troops cannot be deployed.
- Place Bombs in clusters in places where Tier 1 troops are deployed, as several regular Bombs can take out Goblins or Archers with relative ease.
- Put the Spring Trap in a place where you think Giants are most likely to walk through because one Spring Trap can take out 3 Giants at a time.
- Keep your Clan Castle towards the middle of your village, so the troops inside can't be lured out easily.
- While placing or re-locating the Hidden Tesla be careful as troops may spawn in that area if there is a big enough gap.
- Try to make your base as symmetrical as possible as the walls will split the troops and prevent a horde being focused on a single wall.
- The above tactic can be hard to maintain as you gain more buildings and can become detrimental to your defensive design if not thoughtfully designed.
- If you are upgrading your cannons, look at the below tips:
- Look at your base. Find "strong" and "weak" points in your wall.
- Let's say you have a cannon covering both the weak and strong points.
- If you want to upgrade your cannon, do the strong point first, because it isn't just protected by your cannon. If you do the weak point first (this is especially bad at high levels), well, do you really want a place that is not protected by anything for some time to be attacked by raiders?
- Then put your upgraded cannon in the weak place, strengthening the weak point. The strong point doesn't need a stronger cannon as badly.
|

|

|

|

|

|

|

|

|
| File:Nick Legends!.png |
| File:Ano's -CW- TH10 (22May14).png |
| File:Coc j2.jpg |

|


| File:Opstelling - 19-1-2014.jpg |
| File:400px-Town Hall 5 Layout matmul.png |
| File:400px-Semi-compartments 2013-08-5.jpg |
| File:400px-Matmul-mediocreTH5.png |
| File:400px-Level five town hall.jpg |
|
|

.png)
.jpeg)